Using TeamViewer for Remote Support
Using TeamViewer, a support technician can connect to your computer, regardless of location, as long as you have an Internet connection. This lets a support technician see, troubleshoot and resolve most problems, as well as provide training. This is an essential tool and this how-to will explain how to use it.
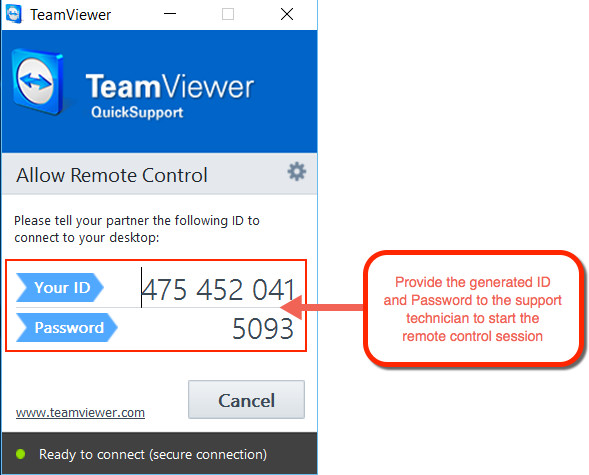
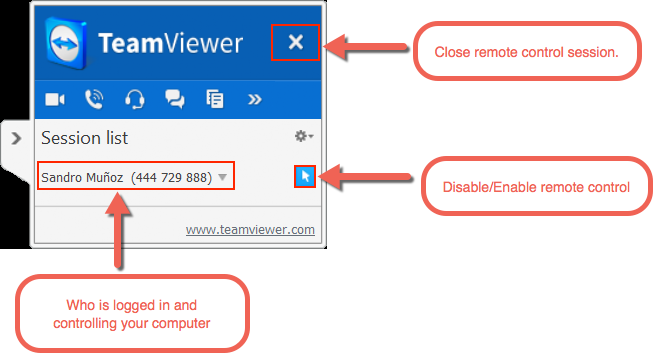
TeamViewer should already be installed on your computer and you should have an icon for it on your desktop, as shown below. If you don’t see it on your desktop, Go to Start → Computer → Local Disk (C:) and search for it there. If you can't find it, you will need to download the program. Double-click the TeamViewer icon to launch. TeamViewer is a very simple program and requires no input from you once you have it running. You only need to provide the user ID and password to the support technician. This should be done over the phone whenever possible. After the technician has connected, you’ll see a status display in the bottom right of your screen. The status screen displays who is connected and allows you to end the connection, as well as disable and enable remote control. Once the session is finished, the technician will terminate the connection. You can also terminate the session by using the red X icon. Installing TeamViewer
Step-by-step guide

Running TeamViewer
Additional Resources