How to install a PATH printer on a Mac
- Sandro Munoz (Unlicensed)
Owned by Sandro Munoz (Unlicensed)
Last updated: Mar 13, 2017
This job aid explains how to add one or several PATH printers to your Mac. These instructions will work for Mac OS X Yosemite (10.10) or higher.
Step-by-step Guide
Adding a network printer
- Before you can print to a network printer, your Mac must be connected to the internal network with an Ethernet cable. If your Mac has an Ethernet port, simply plug in an Ethernet cable. If your Mac does not have an Ethernet port, you will need to use either a USB-to-Ethernet, USB-C-to-Ethernet, or Thunderbolt-to-Ethernet adapter depending on the ports your Mac has.
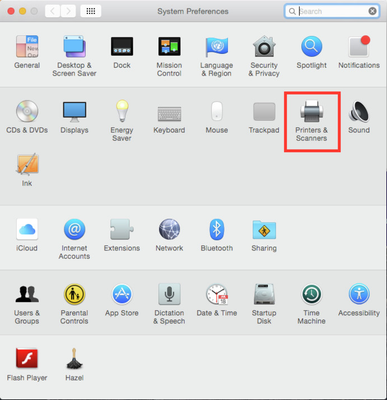
- Once you're connected to the internal network, open System Preferences.

- In System Preferences click Printers & Scanners.
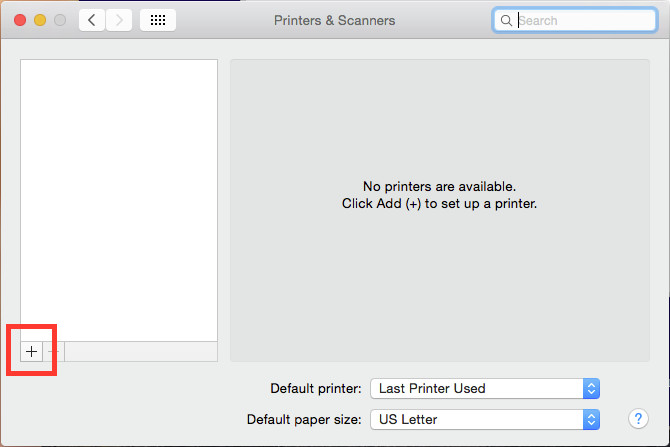
- Click the + sign to add a new printer.
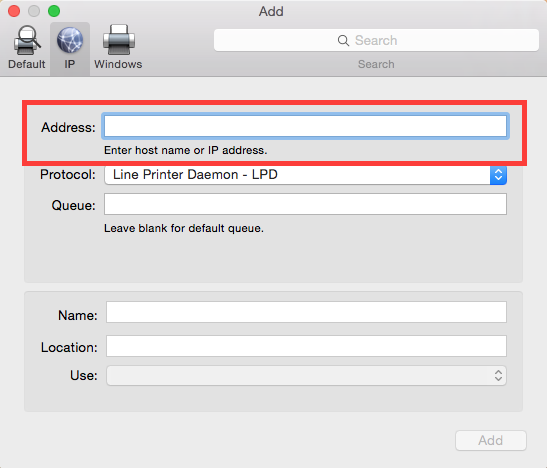
In the address line, enter the IP address of the printer.
Tip:
On HP printers, you can find the IP address on the display screen or by printing out a configuration page and searching for IPv4 Address.
On the Xerox printers, press the Machine Status button or print out a setup page and search for IPv4 Address. These are in the form 10.20.X.X.
- After entering the IP address, click Add. It will take a moment to identify the printer you're adding and download the correct driver. Once the printer is added, you can select it from your list of available printers when it comes time to print a document.
, multiple selections available, Use left or right arrow keys to navigate selected items